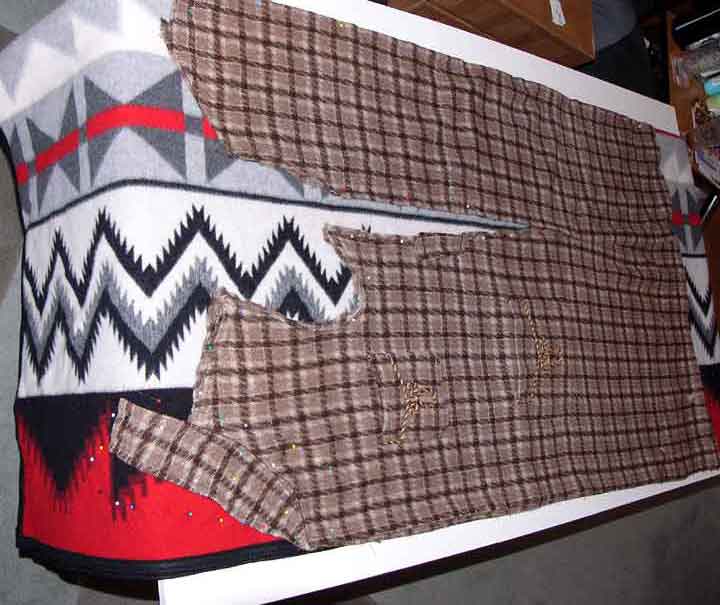
 | Here is the first layout to determine what part of the blanket would be the front and how long it would be. The back was laid on the fold of the first blanket and the sleeves and belt would be cut out of the second blanket.
Notice the original shawl collar piece. I did not cut it away from the robe but left it attached to use as a solid piece without facings. |
| |
|  | | The original sleeves were badly worn and not long enough for the client. I did separate the 2 pieces to make the pattern and also the cuff portion. I wanted to use the red border for the cuffs to match the shawl collar and fronts. Also they had to have the same black binding. I did not replicate the pointed feature of the original cuff as it is not add anything to this already busy Native American design. |
| |
|  | | The sleeve pattern pieces layed on the wool and cuff portions with black binding. Notice the grain lines of the plaid. The underneath wool followed the original grain lines for a nice curved elbow section. |
| |
|
 | | The client wanted his collar to be able to be flipped up to cover his ears for snowy mornings on the patio, so the original piece had to be widen and lengthened and also have a continuous piece of that blanket binding without seams. I measured how much binding I would need to follow the new collar to the center back seam and then removed the binding along the side of the blanket and left it loose until construction. |
| |
| 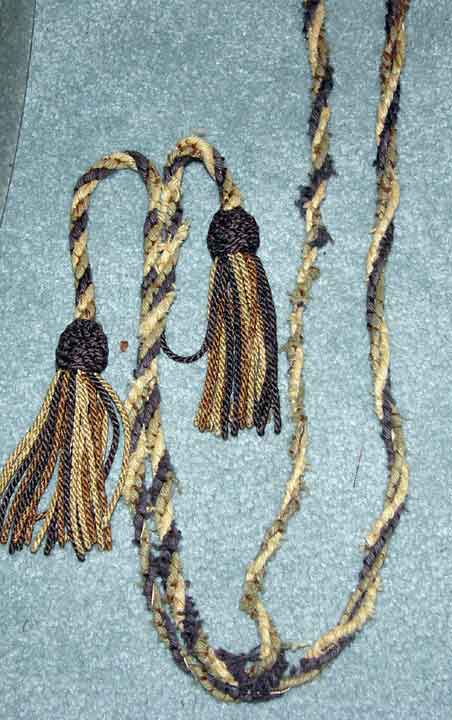 | | Not much life left to this worn braided belt. |
| |
|  | | You can see the worn edge of the old cuff and the frayed rope edging. |
| |
|
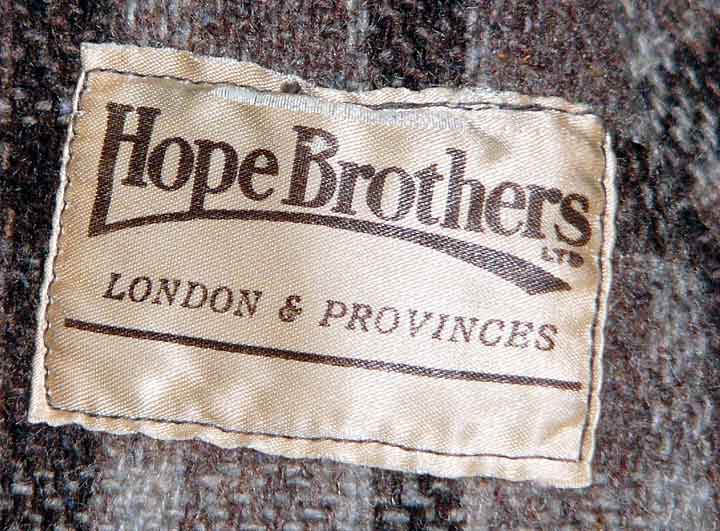 | | The original label from a pretigious British clothing firm. I was able to save this label and sew it to the underside of the new cuffs as a reminder of past days. |
| |
| 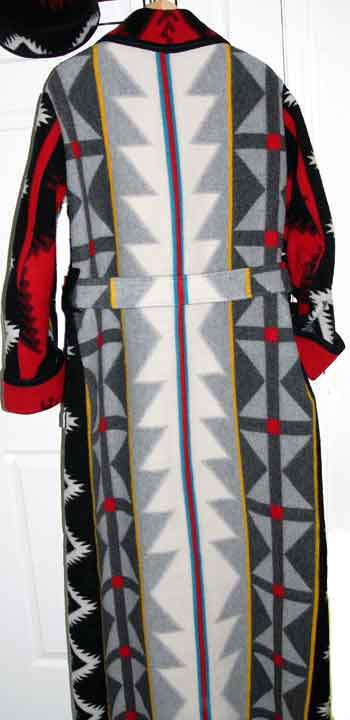 | | The motif on the back was one solid piece and I managed to make the back half of the tie belt to match the design. The front half of the tie belt was made from black cotton which was nicer to tie and avoided the bulk of the wool. Notice the hat in the top corner of the photo. The client wanted a Turkish type of fez hat to wear on frosty mornings. It also was lined with the black cotton and edges with the black wool binding to match the robe. |
| |
| 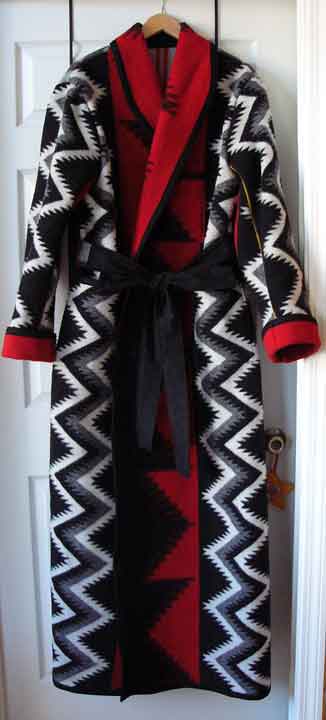 | | Almost finished front with 2 lower pockets and one upper pocket. |
| |
|


