DENIM SHIRTS 2

Last year our Neighborhood Group of the ASG Medford Chapter made strip panels and I have been dying to use mine for a jacket. I had a panel motif as well to incorporate with it so here is what I am starting...
After opening the side seams and removing the sleeves and serging the raw edges, I removed the pocket to get ready to mark the darts.
I lay a paper pattern over to mark my darts.
After marking with a chalk pencil they are ready to be pinned.
Pinned and ready to be stitched to the point.
An interesting feature of denim shirts is the fronts are not always even when you pin the fronts together.
Of course this photo is upside down...sorry.
Like with the previous shirt, I have to remove fabric in the shoulder area. I have chalked the part to be removed and also the real shoulder seam on the yoke.
Cut the first side and retain it for the second cutting.
Use this as a pattern for your second cutting so they are always exactly the same. I keep these as a pattern for future shirts.
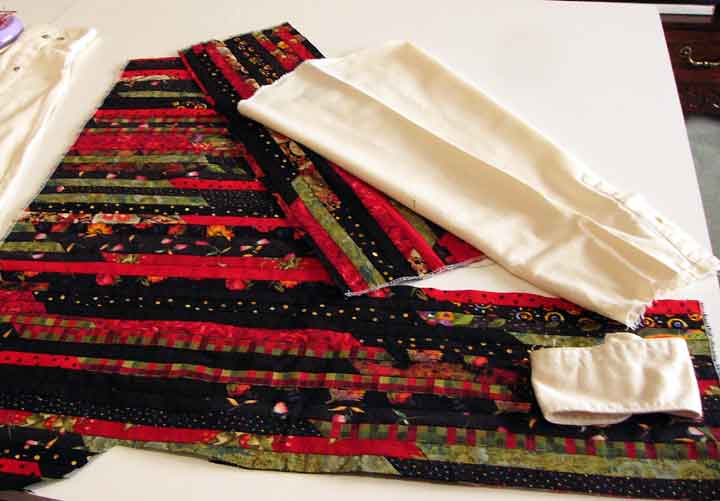
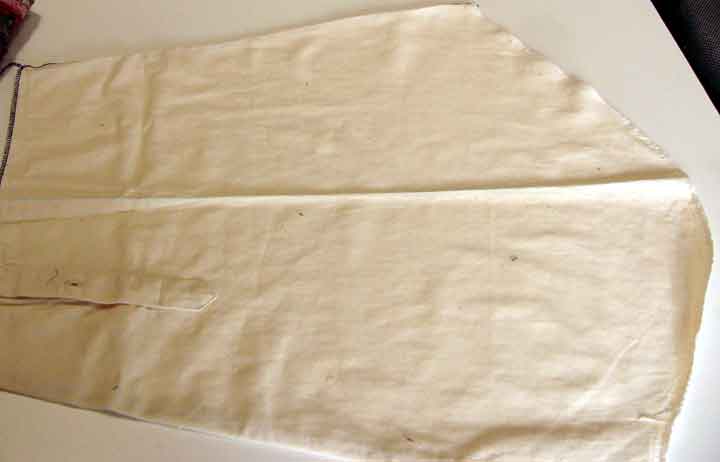
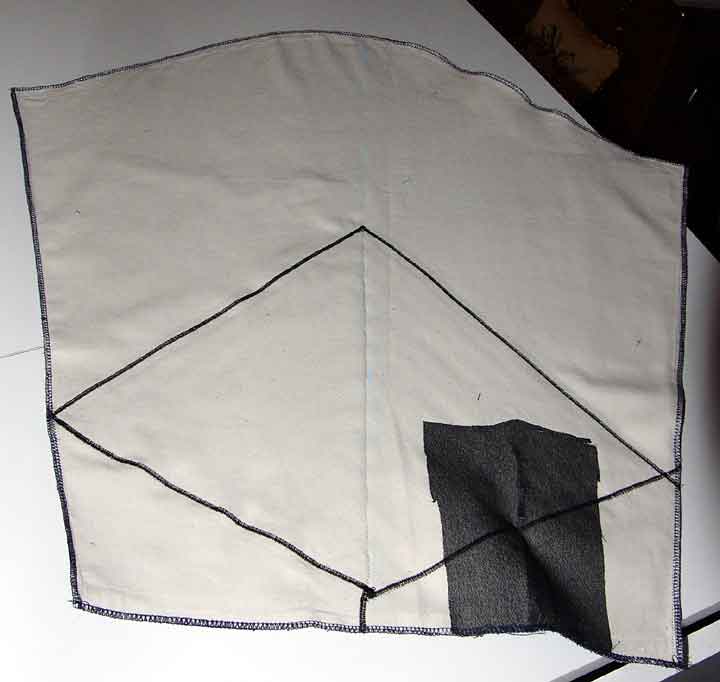
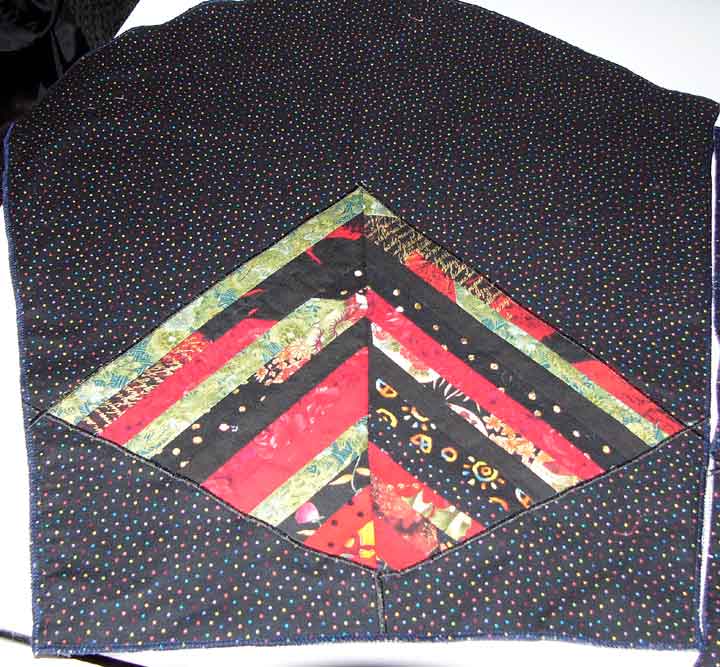
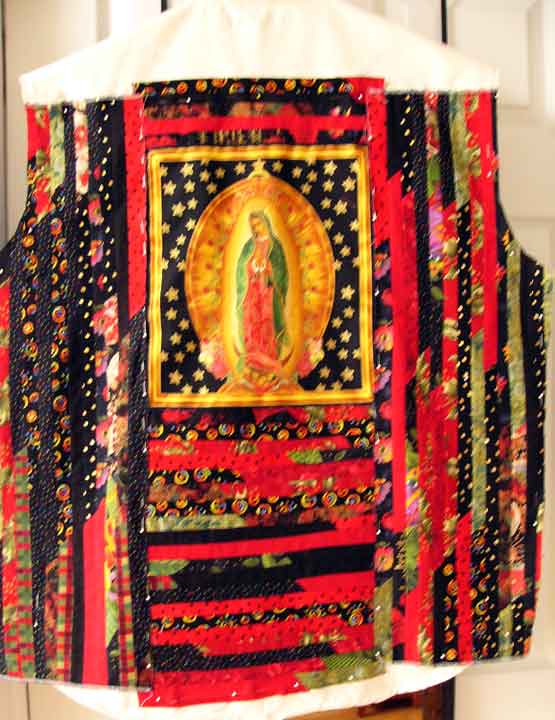
And what did I plan for the back??? Well here is the panel along with the strip panels all stitched down and waiting for a binding to cover the raw edges. The fronts will have equally stunning features using parts of the strip panels....well fingers crossed I have enough fabric!
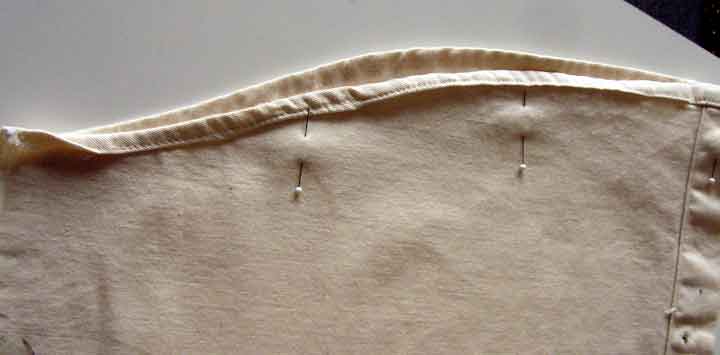
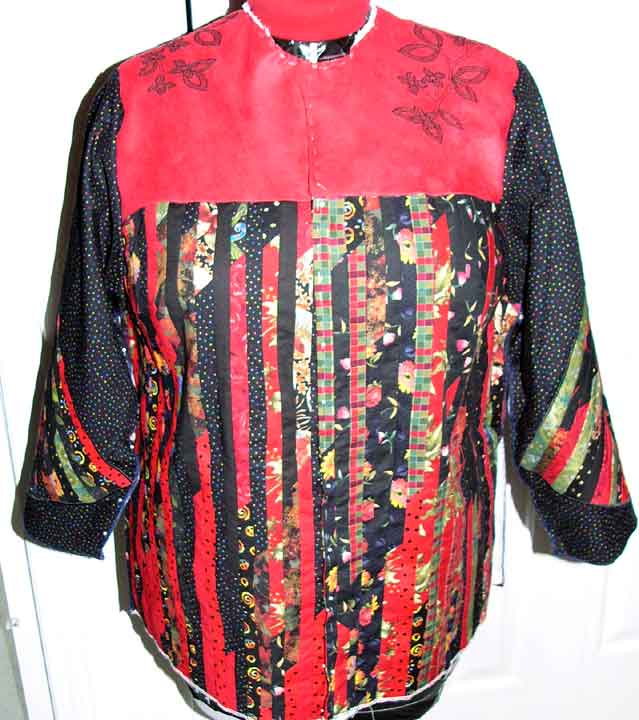
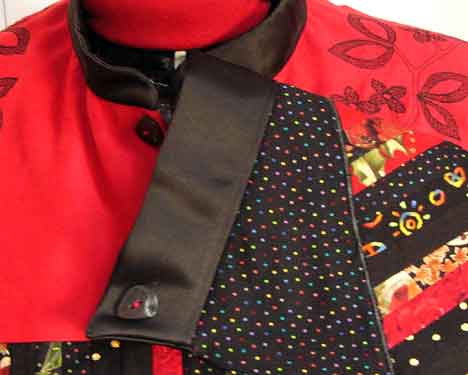
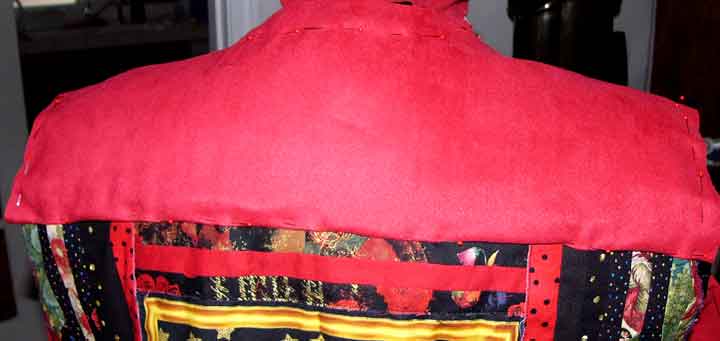
To cover the back yoke and bring some of the ultrasuede to the front, I started pinning a piece to the back seam and then brought it around and down to the front above the second button. I pinned and pulled as I smoothed the fabric down and kept pinning. Then when I was happy, I trimmed off the excess.
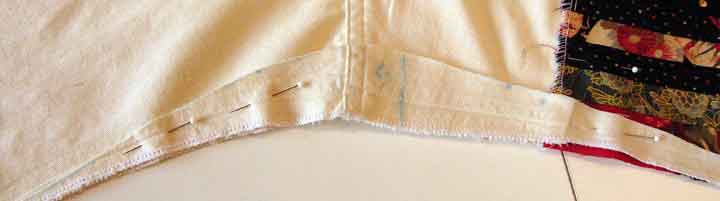
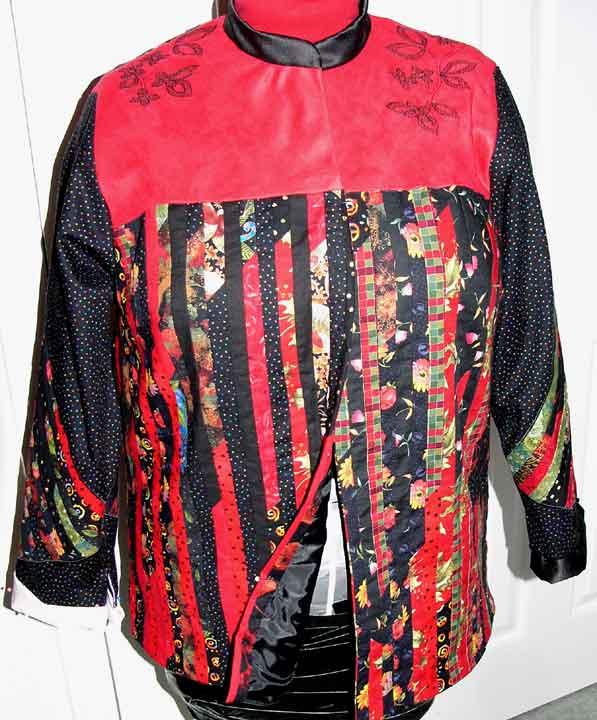
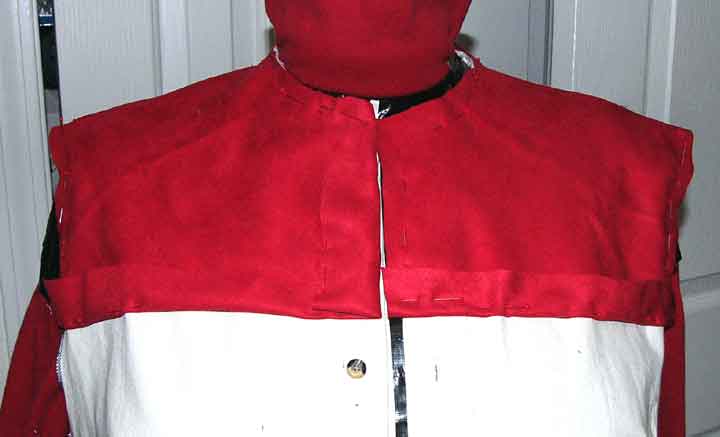
Here is the front pinned and trimmed and excess folded back on itself for later. I still don't know what I am doing with the front closure but it will not be buttons on the right and buttonholes on the left since it was a man's shirt. There will be blackwork embroidery on this ultrasuede yoke soon.
Now that the front and back sections are used up, I need to see what I am left to play with.Notice that I have removed the denim cuffs as the sleeves will be straight.
First each sleeve has a center line drawn on it for placement of the chevron stripes. Later the openings will be covered and fused with tricot interfacing.The sleeve has no real "cap" and is inserted using flat construction.
I placed each striped leftover to see how high I could go on each sleeve and still cover the lower edges.
Once the fronts are stitched down, the cuff opening had to be removed and flattened and fused down with tricot interfacing on the inside.
Here is the finished sleeve with satin stitching all around the shape and then serged around all the edges.
So here we are...sleeves pinned into place and yoke embroidered. I still have to figure out what closures I need and how to finish off the sleeve hems and add the lining and whether I want a collar or not. But so far it is looking like I wanted.
Moving along with the black lining in place and trying different sized cuffs from the leftover denim which will be covered in black satin. See the mandarin black satin collar.
Finally decided on black satin cuffs to match the collar. The edges are angled out and buttoned for the flare.
Now we have the finished jacket with buttons but no buttonholes. There are so many layers of fabric that I chose to have snaps on the back.
Stay tuned for more!!!
Did you miss the first denim shirt page??? Click here.
HOME

This site created at itsmysite.com -- Personalized Web Sites Made Easy!